I have a cupcake order this weekend for a birthday, and I wanted to show you all how I made the fondant for the decorations! This was seriously so easy to make and I'm positive I will never buy fondant again! Thank you to my wonderful mother who helped by taking these photos!
You'll Need...
- 16 oz. mini marshmallows
- 7 cups of powdered sugar (I just used a whole bag of it, you may need some extra depending on how firm you want the fondant to be)
- 2-5 tablespoons of water
- 1/2 cup Crisco (vegetable shortening)
- A wooden spoon or rubber spatula for mixing
 |
| First, pour your marshmallows into a large microwave-safe bowl and add 2 tablespoons of water. Put it in the microwave for 30 seconds. |
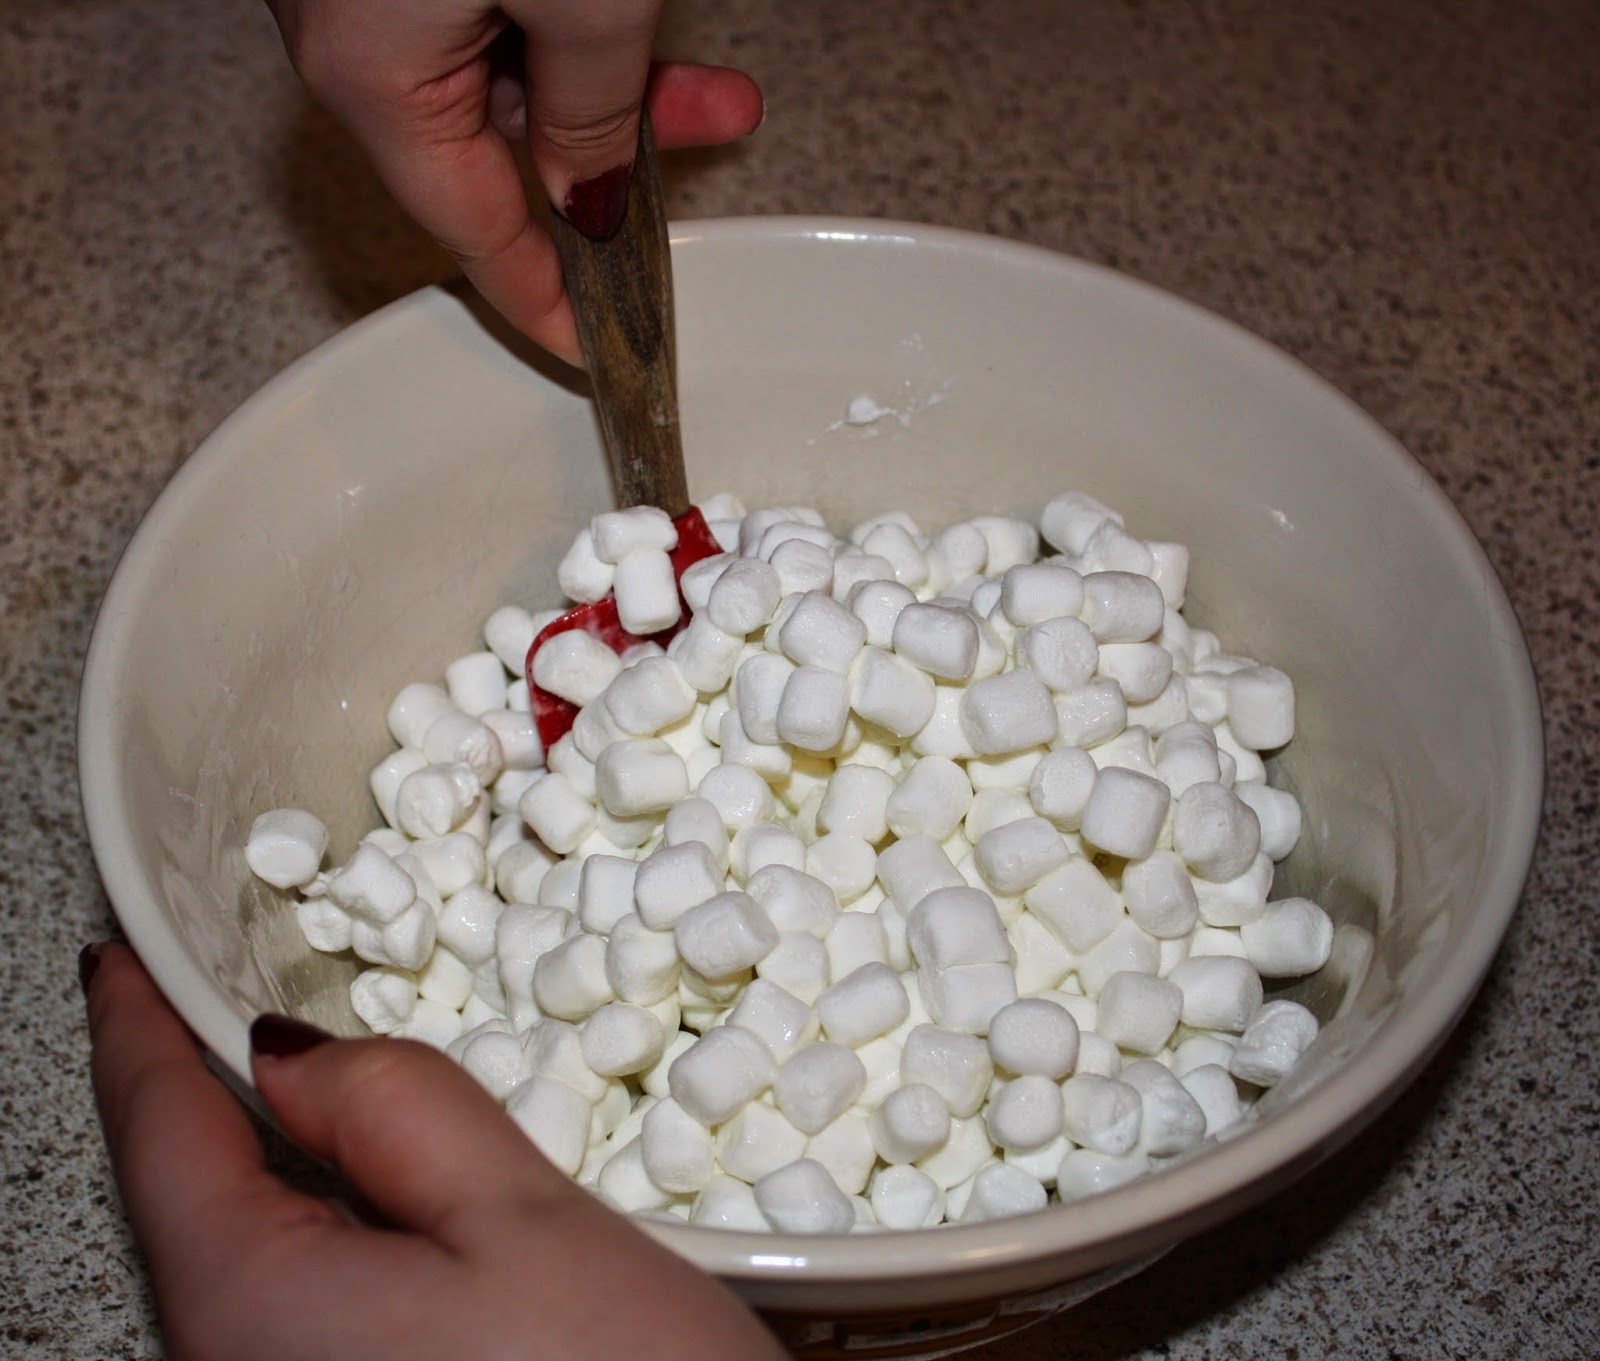 |
| Remove from the microwave and stir. It may not seem like the marshmallows have melted yet, but the stirring definitely helps between each microwave session. |
 |
| Put the bowl in for another 30 seconds, remove and stir again. You should really start to see the melting process begin! |
 |
| Put the bowl in for another 30 seconds, remove and stir. This should be the last time you have to microwave the marshmallows, but be sure to stir everything to ensure there are no whole marshmallows. |
 |
| Next, add 3/4 of your powdered sugar and stir it in. |
 |
| At first, this will look like one big mess and NOTHING like fondant. Don't be discouraged!! This is just the first step! Keep on mixing, just think of it as a good arm workout! |
 |
| Keep blending the two ingredients together. The mixture will still kind of be hot, so don't try kneading it too soon! |
 |
| Next, spread some Crisco on your counter (make sure it's clean first!) so the marshmallow doesn't stick to it. |
 |
| Then take Crisco and spread it all over your hands. This step helps so much!! |
 |
| Next, dump out the marshmallow mix onto the counter where you spread the shortening and wipe off any excess from your spoon/spatula. |
 |
| Begin kneading the mixture like you would with bread dough. It will feel like one giant, weird marshmallow. Keep on keeping on! |
 |
| Occasionally, add more powdered sugar to help the firmness set in, and continue to knead... |
 |
| Eventually, you may become EXTREMELY excited like me when you see that it's starting to become fondant! Feel free to show your neighbors or members of your household! Beware, you make receive strange looks! |
 |
| As soon as you feel it starting to firm up, you'll want to do a 'stretch-test'. Grab a chunk of the fondant and stretch it out. If it looks like this, you'll want more powdered sugar. I'm looking for a more firm material to work with and this it just a little too stretchy for my taste. |
 |
| Keep kneading... |
 |
| and adding more powdered sugar... |
 |
| Alright, here's our next stretch test! |
 |
| And the results are perfect! This stretched about two inches and then disconnected! That's exactly what I'm looking for! |
 |
| When you have the texture you're looking for, rub some more shortening on your hands so you can spread it onto the fondant |
 |
| Ta da! |
 |
Wrap the finished product in cling wrap and store at room temp. for 12-24 hours. The shortening you rubbed onto it will be absorbed into the fondant, acting as a preservative for the time being.
|


